GUI Installer Gas
Downloading the application
The latest version is Participant Data Replication Batcher GUI Installer 7.6. For download locations, see Data Interchange bundles.
Decompress the .ZIP file to a work folder to create a .JAR file. The .JAR file is the installation file referenced elsewhere in this document.
Environment prerequisites
The Participant Data Replication Batcher needs:
- A Java Runtime Environment (JRE) compatible with the certified version for this application.
- A set of local working directories, which typically serve as the integration point with the Participant Data Replication Loader product.
- Connectivity to a data source, either remote (FTP) or local (a directory). To read from an FTP server, the Participant Data Replication Batcher requires host, username, and password details.
AEMO’s file servers only support FTP. Instances of the Participant Data Replication Batcher connecting to AEMO’s file servers must use FTP.
Installation
Follow the steps to install and configure the pdrBatcher application successfully:
-
Validate the JRE installation is Open JDK 21 by running the following in a command prompt:
java -version
The response should be similar to:
openjdk version "21" 2023-09-19
OpenJDK Runtime Environment (build 21+35-2513)
OpenJDK 64-Bit Server VM (build 21+35-2513, mixed mode, sharing) - If a different Java version is detected, refer to the documentation to install the certified JRE version.
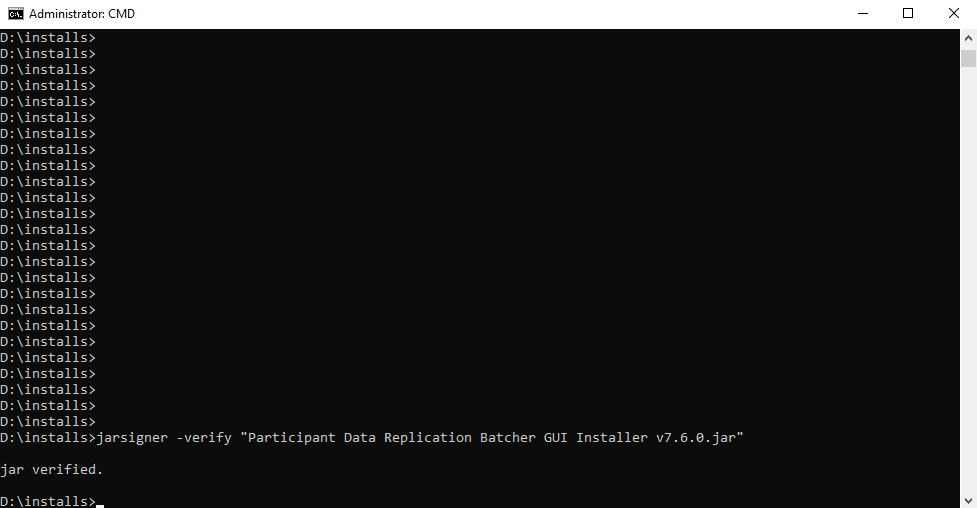
- Validate the .JAR file signature. From the command line prompt, run the following:
jarsigner -verify "Participant Data Replication Batcher GUI Installer v7.6.0.jar"
For more information, see https://docs.oracle.com/en/java/javase/21/docs/specs/man/jarsigner.html
-
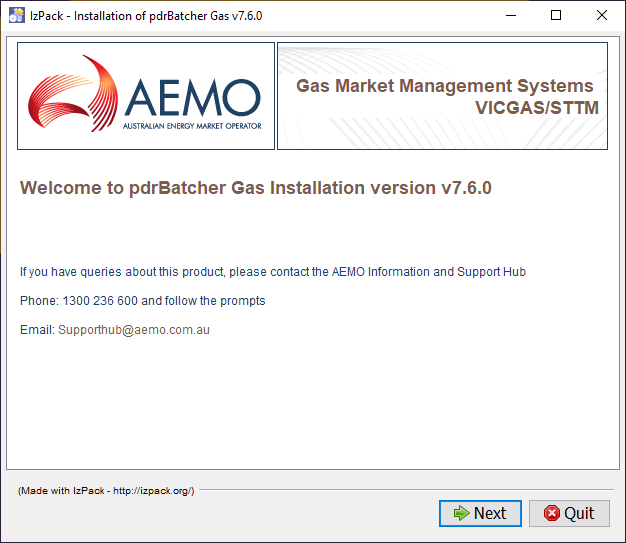
Start the GUI installer using one of the following methods:
- Double-click the JAR file in a Windows environment, if *.jar files are associated with a Java Runtime Environment (JRE).
- Run the installer from the command line:
- Open a command prompt.
- Navigate to the folder where the installer is stored.
- Run:
- For headless environments, such as Linux, run the installer in a terminal session using the -console flag:
java -jar <insert installer name here>.jar
java -jar <insert installer name here>.jar -console
Provides the same capabilities as the GUI installer but runs entirely in text mode.
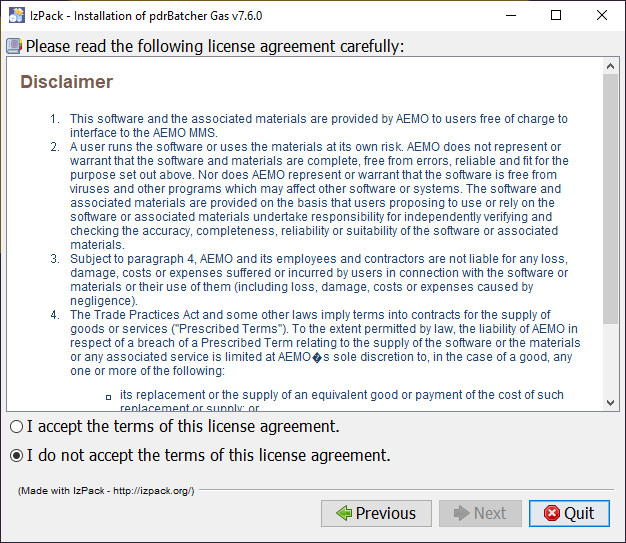
- Accept the terms of the licence agreement and click Next.
- Select the installation path. For example:
C:\Program Files\pdrBatcher Gas
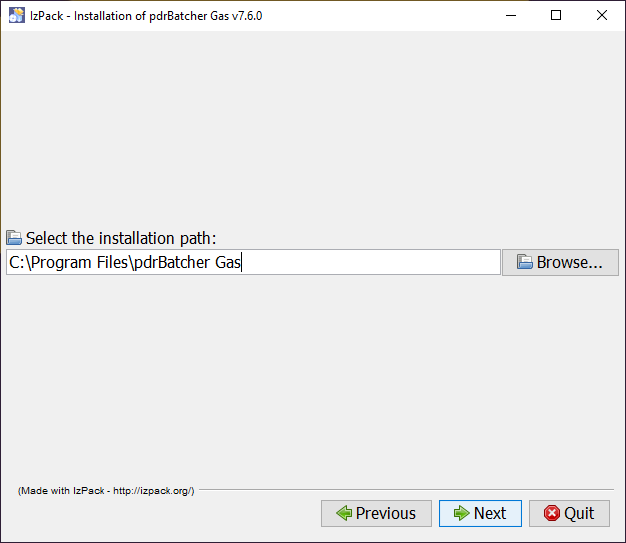
If you want to use an existing directory, click Browse and select the installation location.
- Select the installation details by ticking the required checkboxes, then click Next.
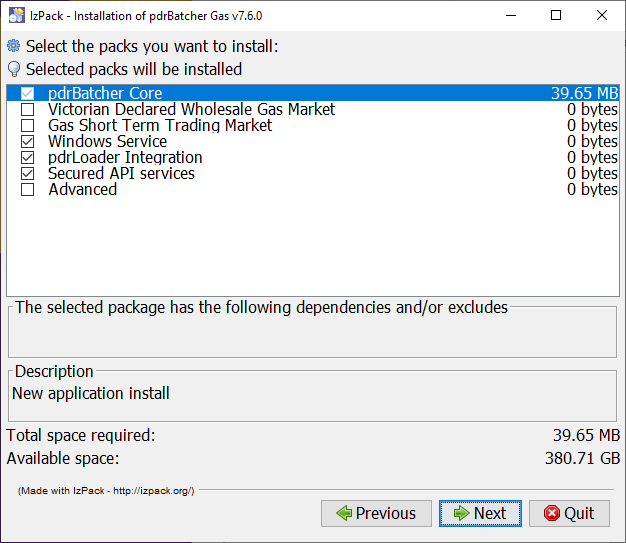
- pdrBatcher Core: Mandatory. Installs the standard software.
- Victorian Declared Wholesale Gas Market: Connects to the DWGM MIBB FTP service.
- Gas Short Term Trading Market: Connects to the STTM MIS FTP service.
- Windows Service: Runs pdrBatcher software as a Windows service. This option is not available for on Unix-type operating systems.
- pdrLoader Integration: Enables connection to an existing pdrLoader installation.
To process gas INT format CSV files, pdrLoader requires additional configuration.
- Secured API services: Configures the installation with a self signed certificate to encrypt API communications between the pdrMonitor and the pdrBatcher.
AEMO recommends selecting this option to support cyber security.
De-selecting this option results in plain text HTTP communications between the pdrMonitor and the pdrBatcher.
The self-signed certificate has a 365-day expiry period.
Participants must generate a new certificate before the expiry date to allow monitor communications to continue.
Participants may choose to use a certificate issued by an external Certificate Authority. However, AEMO does not support this through the AEMO GUI installer.
In this case, participants must register their certificate manually using command line tools.
Refer to the certificate management section of the user guide for more information.
- Advanced: Select this option only if you need to override advanced configuration settings, such as the Windows Server name or the location of the JRE used to run the application.
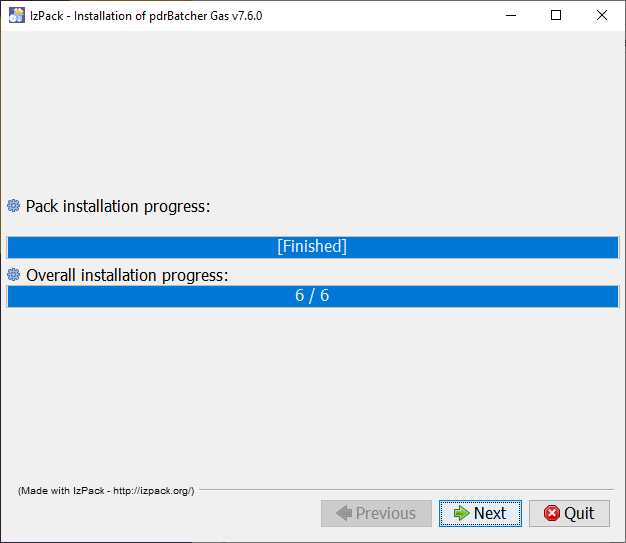
The installation progress screen displays.
- Enter the required configuration details and click Next.
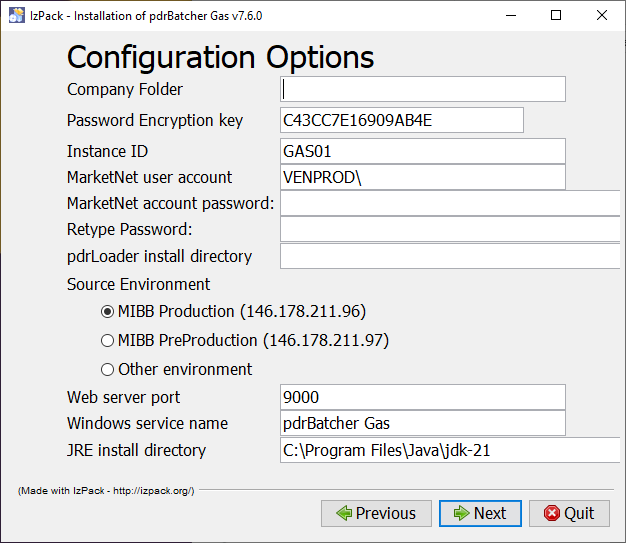
- The required fields are:
- Company Folder: For DWGM, the folder name on the MIBB FTP server.
For STTM, the organisation folder name on the MIS FTP server, typically of the form ORGxxx, where xxx is the gas company ID.
- Password Encryption Key: A 16-digit hexadecimal code (A-F,0-9) to secure your password.
- Instance ID: A unique identifier for this pdrBatcher installation.
- MarketNet user account: The account used to access AEMO systems, generally in the format NEMNET\your_account.
For DWGM, the account is in the VENPROD domain.
For STTM, the account is in the NEMNET domain.
- MarketNet account password: The password for the MarketNet user account.
- Retype Password: Confirm the password. It must match the entry above.
- pdrLoader install directory: Required only if the pdrLoader Integration option is selected. Choose the home directory of your local pdrLoader installation.
- Source environment:
- For DWGM:
MIBB Production
MIBB Pre-production
- For STMM:
MIS Production
MIS Pre-production
The other environment allows an IP address to be entered directly. Use this only if pdrBatcher must connect to a source AEMO environment not preconfigured in the Gas GUI installer.
- Company Folder: For DWGM, the folder name on the MIBB FTP server.
- Web server port: The TCP port used by pdrBatcher exposes API services for pdrMonitor. This port must be unique across all pdrBatcher and pdrLoader installations on the server and must not be in use on the application host.
- Windows service name: Required if the Advanced installation option is selected. Allows you to assign a custom name to the Windows service.
- JRE install directory: Required if the Advanced installation option is selected. Allows you to specify an alternate JRE to run the software. By default, this field uses the JRE that the GUI installer is running under.
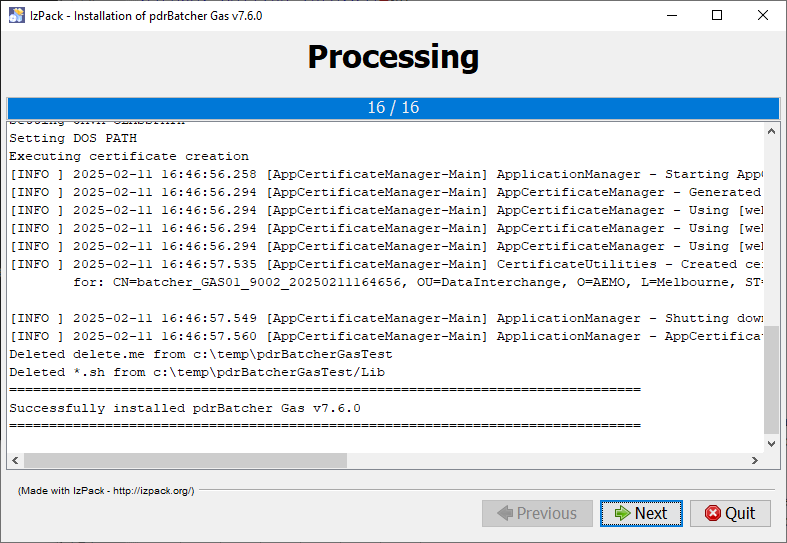
- The processing form appears and configures your software installation based on the selected options and settings. If an error occurs, click Previous and update the required settings.
- Once the installation is complete, the finish form displays. Click Done to close the installer.

The Generate an automatic installation script button is an advanced option used to generate a configuration file used for silent installs. It is recommended for advanced users running multiple installations.
Testing your installation
After installation, test that the application working correctly:
- Start the application using the method that matches your installation and environment:
- For a Windows service installation, start the service from the windows service panel.
- For a Windows console installation, double-click the pdrBatcher.bat in the Lib subdirectory.
- For a Unix installation, run the pdrBatcher.sh shell script in the Lib directory.
- Check the pdrLoader log file in the Log folder and confirm there are no messages with an ERROR status. If you find any ERROR messages, review all parameters and your environment, then repeat the installation if needed.