GUI Installer
For pdrLoader version 7.4 or later.
This Participant Data Replication Loader GUI Installer is for the pdrLoader version 7.5 or later.
You can find detailed information about usage, configuration options, and maintenance in the Guide to Participant Data Replication Loader.
Audience
This document is for registered participants’ technical and software development staff who are responsible for systems implementation.
Scope
This guide covers the setting up and use of the Participant Data Replication Loader, specifically using the Participant Data Replication Loader GUI Installer.
This guide assumes you have knowledge of:
- The Java application environment.
- The operating system your organisation is using.
- How the NEM systems operate.
Download
The latest version is Participant Data Replication Loader GUI Installer 7.6.1. For download locations, see Download.
Decompress the .ZIP file to a work folder to create a .JAR file. The .JAR file is the installation file referenced elsewhere in this document.
Environment prerequisites
The Participant Data Replication Loader needs:
- A Java Runtime Environment (JRE) compatible with the certified version for this application.
- A set of local working directories.
- Access to a local database (read and write) in which to install the PDR* tables for controlling the loader process, plus access to all the target tables (MMS Data Model)
AEMO’s file servers only support FTP. Instances of the Participant Data Replication Batcher connecting to AEMO’s file servers must use FTP.
Install
To install and configure the pdrLoader application:
-
Validate the JRE installation is Open JDK 21 by running the following in a command prompt:
java -version
The response should be similar to:
openjdk version "21" 2023-09-19
OpenJDK Runtime Environment (build 21+35-2513)
OpenJDK 64-Bit Server VM (build 21+35-2513, mixed mode, sharing) - If a different java version is detected, refer to the documentation to install the certified JRE version.
- Validate the jar file signature. From the command line prompt, run the following command:
jarsigner -verify "Participant Data Replication Loader GUI Installer v7.6.1.jar"
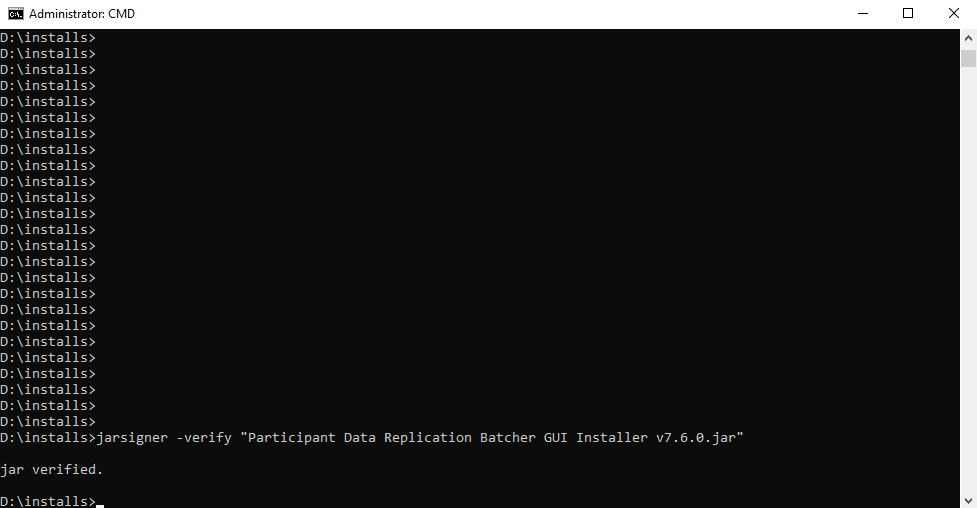
For more information, see https://docs.oracle.com/en/java/javase/21/docs/specs/man/jarsigner.html
-
Start the GUI installer using one of the following methods:
- Double-click the JAR file in a Windows environment, if *.jar files are associated with a Java Runtime Environment (JRE).
- Run the installer from the command line:
- Open a command prompt.
- Navigate to the folder where the installer is stored.
- Run:
- For headless environments, such as Linux, run the installer in a terminal session using the -console flag:
java -jar <insert installer name here>.jar
java -jar <insert installer name here>.jar -console
Provides the same capabilities as the GUI installer but runs entirely in text mode.
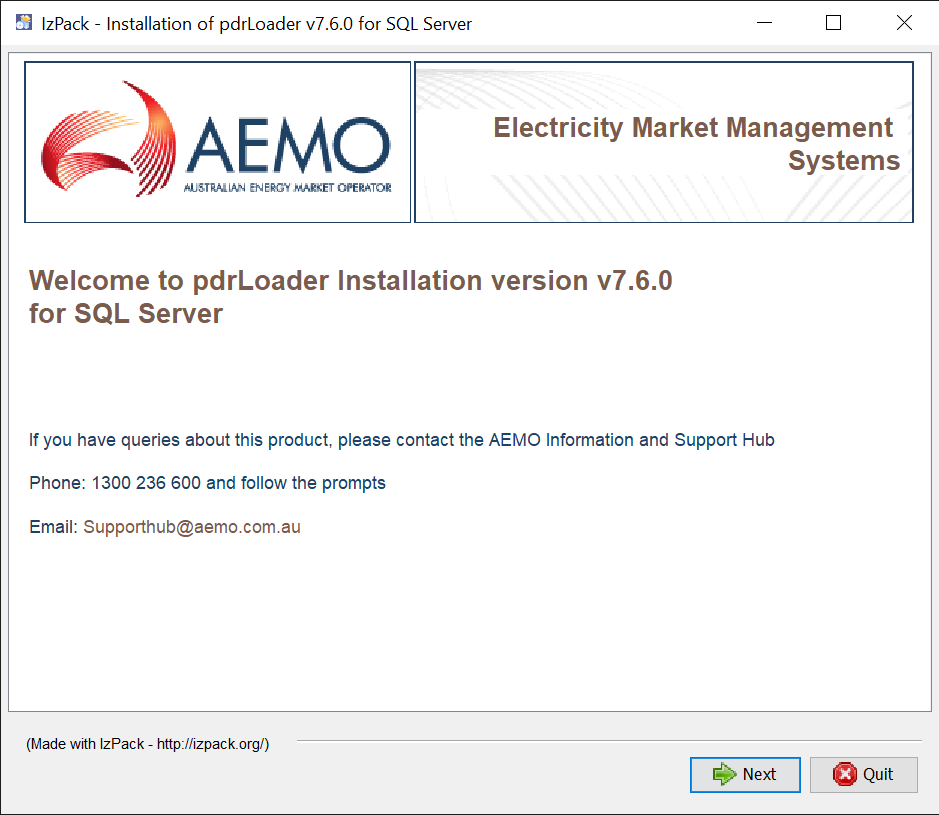
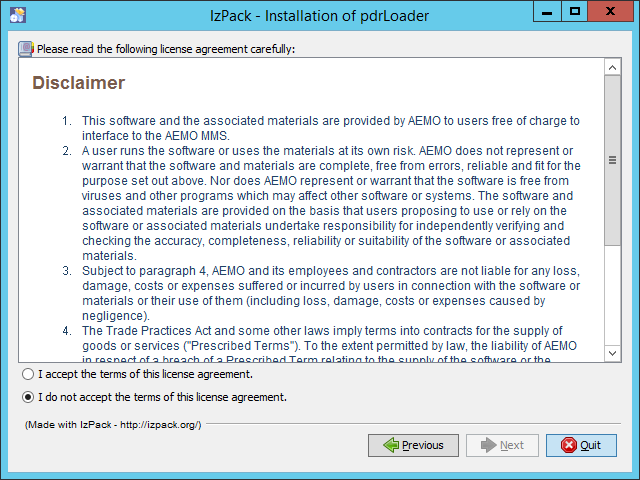
- Accept the terms of the licence agreement and click Next.
- Select the installation detail by clicking the required checkboxes and click Next.
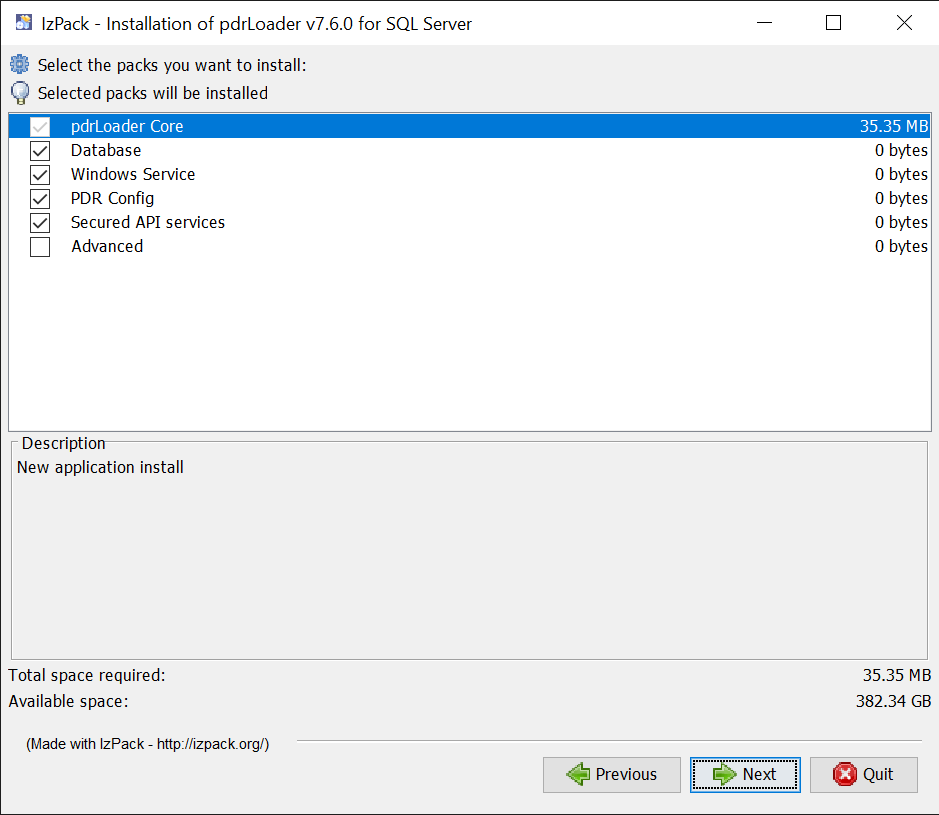
- pdrLoader Core: Mandatory, being the standard software installation.
- Database: Select this option to create the database management tables.
- Windows Service: Select this option to run the pdrLoader software as a Windows service. This option in unavailable for installations on unix-like operating systems.
- PDR Config: Selected by default. If selected, the installer downloads the latest Data Model mapping configuration and populated the pdrLoader management tables.
The artefact is downloaded from PDRCONFIG/ and required internet access from the server where the loader is installed.
If your organisation uses a proxy server to access internet services, you must select the Advanced installation option that allows you to enter the web proxy hostname and port.
If there is no internet access available from the installation host, then you need to use the manual method to apply the Data Model configuration.
- Advanced: Select this option only to override advanced configuration properties such as the Windows Service name or the location of the Java Runtime Environment that is used to run the application.
- Select the location to install the application and click Next.
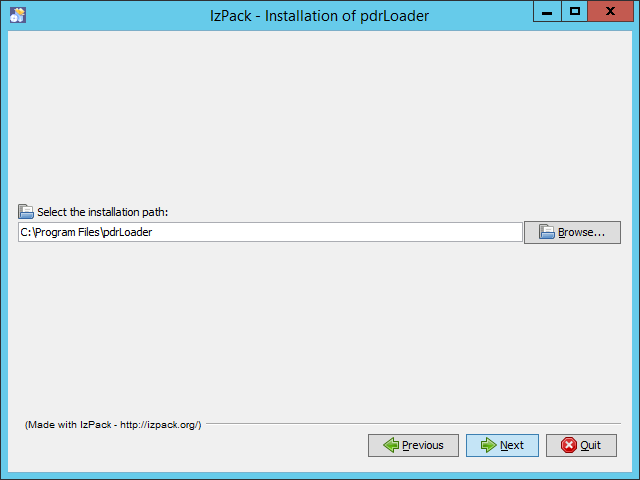
If you want to use an existing directory, click Browse and select the installation location.
- Enter the required configuration details and click Next.
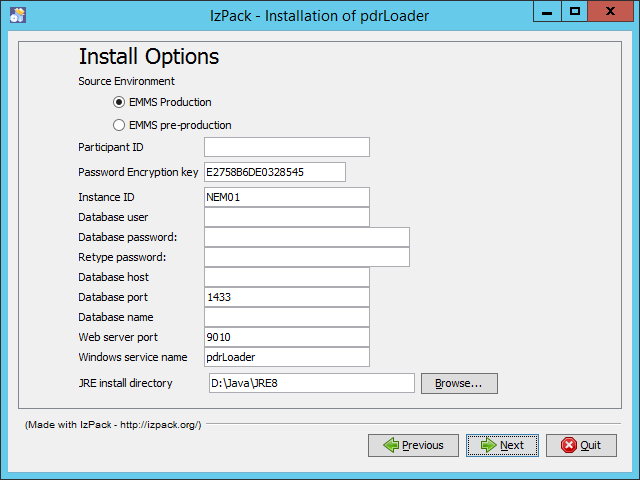
- The required fields are:
- Source Environment: Select if this installation is connected to AEMO’s production or pre-production environment.
- Participant ID: Your participant identifier.
- Password Encryption Key: A 16-digit hexadecimal code (A-F,0-9) used to secure your password.
- Instance ID: Instance identifier that uniquely identifies this pdrLoader installation.
- Database user: The user account used to log onto the target database.
- Database password: The password associated with the target database user.
- Database host: The name of the server running the target database.
- Database port: The port to communicate to the database server.
- Database name: The database name to connect to.
- Web server port: Choose a port number for the web services interface. This must be unique across all installations of pdrBatcher and pdrLoader on this server.
- Windows service name: Required if the Advanced installation option is selected. The default windows service name is pdrLoader.
- JRE install directory: Required if the Advanced installation option is selected. The home directory of the Java Runtime environment to run the pdrLoader application.
This form adjusts the fields to suit the connection parameters to the specific target database environment (Oracle, SQL Server, etc.)
- The processing form displays, configuring your software installation according to your selected option and settings. If an error occurs, press Previous and correct the required settings.
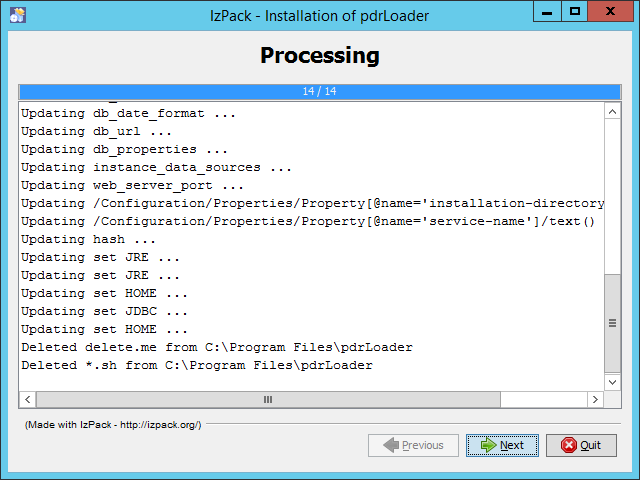
- Once the installation is complete, the finish form displays. Click Done to close the installer.
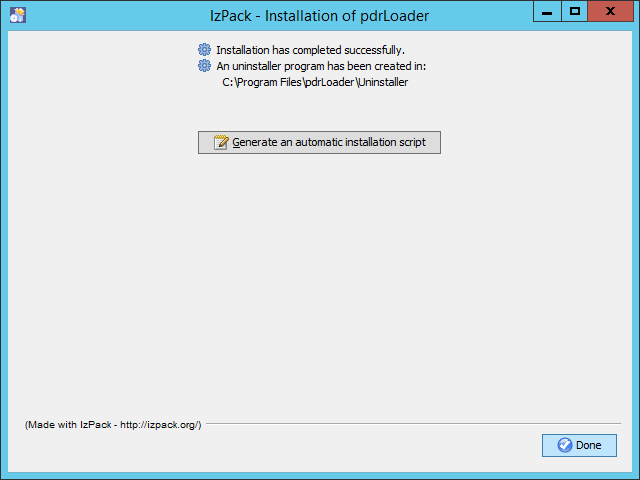
The Generate an automatic installation script button is an advanced option used to generate a configuration file you can use for silent installs. It is recommended for advanced users running multiple installations.
Test
Once your installation is complete, you can test it is working correctly using the following steps:
- Start the application using the method most suitable for your installation and environment:
- For a Windows service installation, start the service from the windows service panel.
- For a Windows console installation, start the application by double clicking the pdrLoader.bat in the Lib folder.
- For a Unix installation, start the application by running the pdrLoader.sh shell script in the Lib folder.
- Check the contents of the pdrLoader log file located in the Log folder and ensure that there are no messages with an ERROR status. In the event of ERROR messages, check all parameters, your environment, and repeat the installation if necessary.