GUI Installer
For pdrMonitor version 1.0.0 or later.
This Participant Data Replication Monitor Installation Guide (guide) assists participants to install and configure the Participant Data Replication Monitor (pdrMonitor) software.
Audience
This guide is forRegisteredParticipants’ technical and software development staff who are responsible for systems implementation.
Assumed Knowledge
This guide assumes you have knowledge of:
-
Database design
-
The Java application environment.
-
The operating system your company uses.
-
How the Data Interchange software operates.
-
Web services concepts, such as Ports and API keys.
Steps
The setup is managed by the GUI installer and under normal circumstances does not require manual intervention.
Steps required to setup the application:
- Check the Prerequisites.
- Download the software.
- Install the software.
- Configure the software.
- Test your installation.
Prerequisites
The pdrMonitor needs:
- A Java Runtime Environment (JRE) compatible with the certified version for this application.
- At least one Data Interchange instance working with pdrBatcher and pdrLoader >= v7.5.
- A server to host the application software with a set of local working directories. You can install the pdrMonitor alongside other Data Interchange applications if desired.
- A database to persist the pdrMonitor management tables. As a simplified deployment option, these tables can co-exist with Data Model tables and pdrLoader management tables.
- pdrMonitor access to all Data Interchange components. Including Data Model tables servicing multiple Data Interchange environments having a dedicated schema assigned or even in a separate database platform.
- Database credentials:
- Username and password.
- Database port number.
- Database name to connect to.
- For Oracle this is a Service Name/SID.
There is no requirement to match the database platform for the pdrMonitor with the ones used by the pdrLoader instances.
For SQL Server it is the database name in the SQL instance.
- Connection credentials:
- Hostname
- Application API key.
- Port to expose the browser interface to access the pdrMonitor.
You can find credentials in the pdrBatcher and pdrLoader Properties file. You can view by using the pdrKeyManager script. For example:

- Ensure the time on the server running the pdrMonitor and the application server are synchronised. There is a timestamp feature that is part of signed requests preventing man-in-the-middle (MITM) replay.
Download
- Download the latest version of the Participant Data Replication Monitor GUI Installer Software v1.0.0 from the Participant File Server or the Data Subscription web application.
- Decompress the zip file to a folder to create a JAR file. The JAR file is the installation file referenced elsewhere in this guide.
Install
To install:
-
Validate the JRE installation is Open JDK 21 by running the following in a command prompt:
java -version
The response should be similar to:
openjdk version "21" 2023-09-19
OpenJDK Runtime Environment (build 21+35-2513)
OpenJDK 64-Bit Server VM (build 21+35-2513, mixed mode, sharing) - If a different Java version is detected, refer to the documentation to install the certified JRE version.
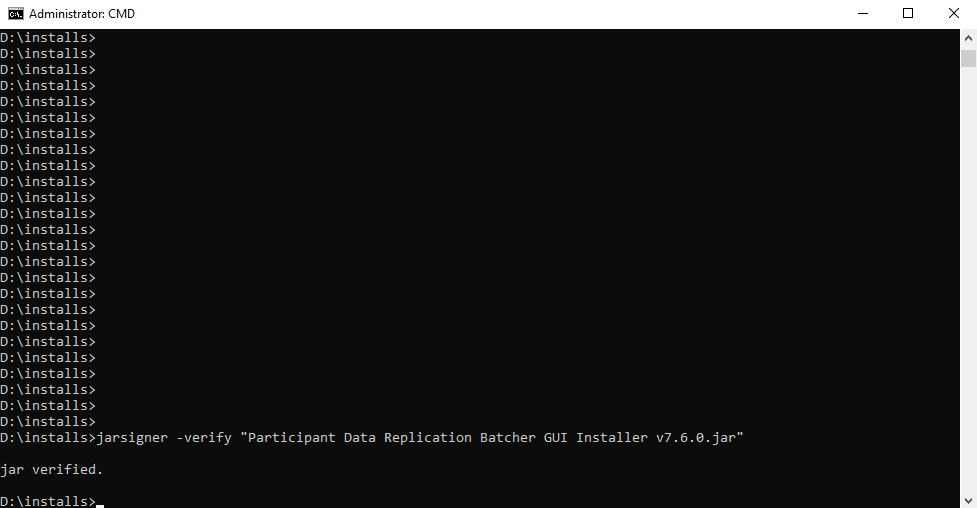
- Validate the .JAR file signature. From the command line prompt, run the following command:
jarsigner -verify "Participant Data Replication Monitor GUI Installer v1.3.jar"
For more information, see https://docs.oracle.com/en/java/javase/21/docs/specs/man/jarsigner.html
-
Start the GUI installer using one of the following methods:
- Double-click the JAR file in a Windows environment, if *.jar files are associated with a Java Runtime Environment (JRE).
- Run the installer from the command line:
- Open a command prompt.
- Navigate to the folder where the installer is stored.
- Run:
- For headless environments, such as Linux, run the installer in a terminal session using the -console flag:
java -jar <insert installer name here>.jar
java -jar <insert installer name here>.jar -console
Provides the same capabilities as the GUI installer but runs entirely in text mode.
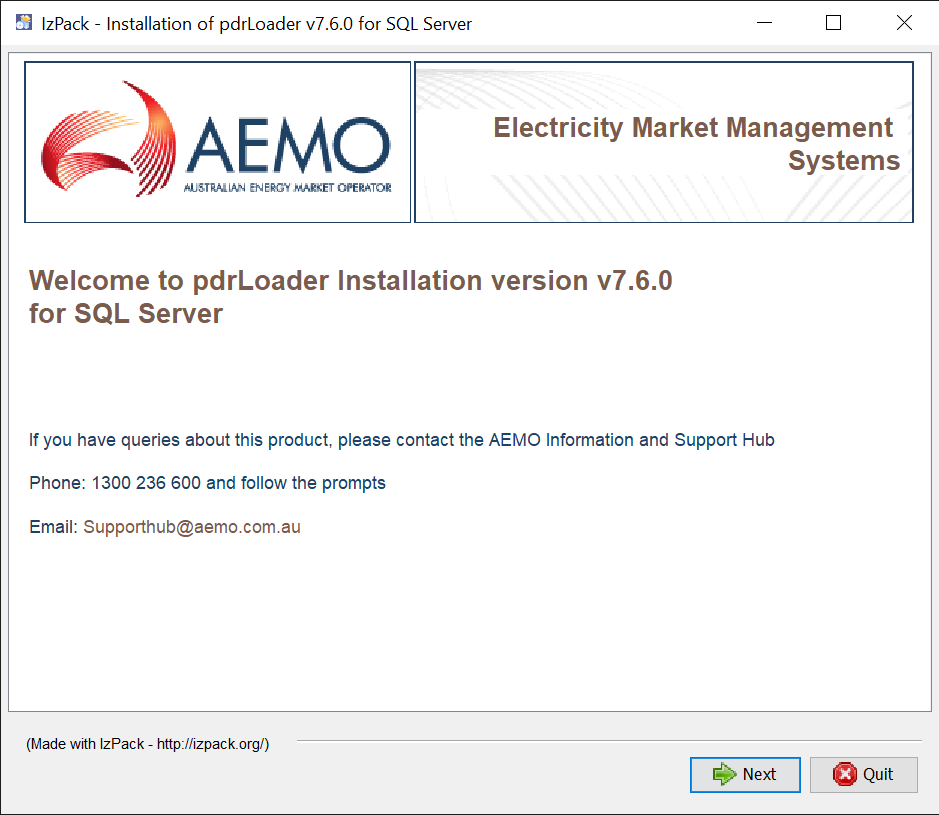
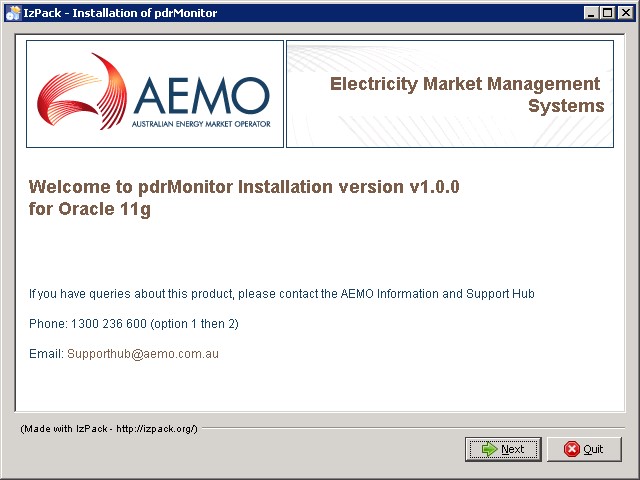
- Review the database and application versions and click Next.
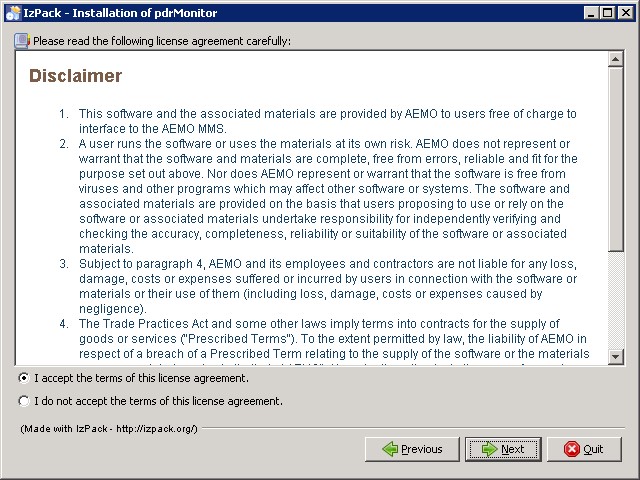
- On the AEMO disclaimer, accept the terms of the licence agreement and click Next.
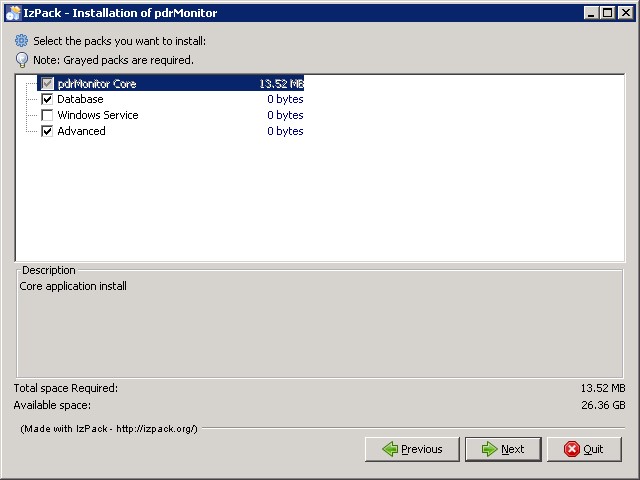
- Select the relevant installation options and click Next:
- pdrMonitor Core: mandatory.
- Database: select to install the database tables into an existing database schema.
- Windows service: select to install the software as a Windows Service. This option in unavailable for installations on unix-like operating systems.
- Advanced: provides more sophisticated options for advanced users, such as the Windows Service name or the location of the JRE used to run the application.
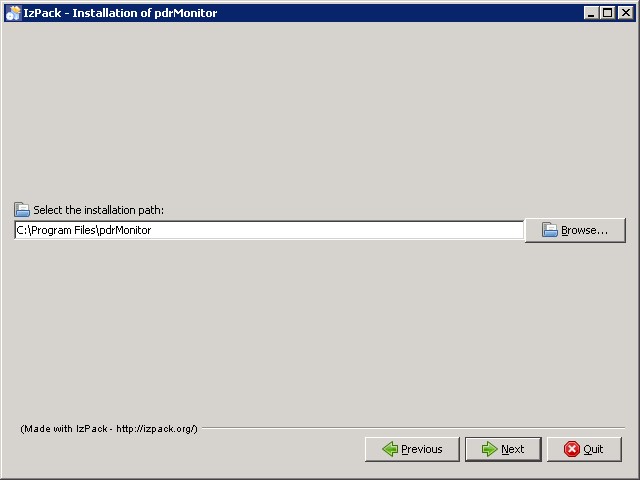
- Select the installation location. If you want to use an existing directory, click Browse and select the installation location.
- Click Next.
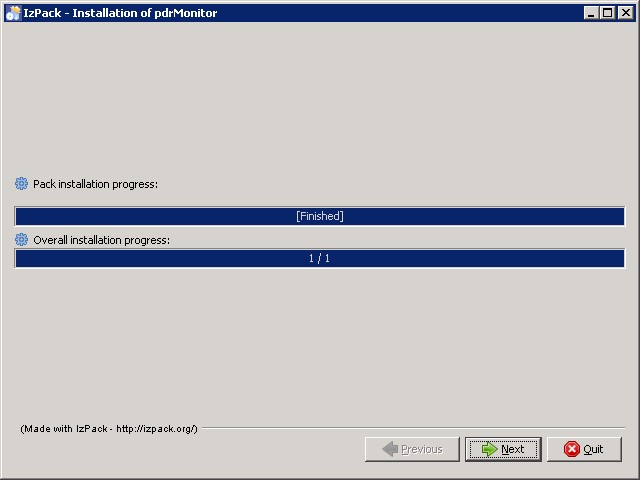
- The installer extracts the application and installs it to your chosen location.
- For a manual configuration (not recommended) you can quit the installer at this point and complete the remaining steps manually. Otherwise click Next.
Configure
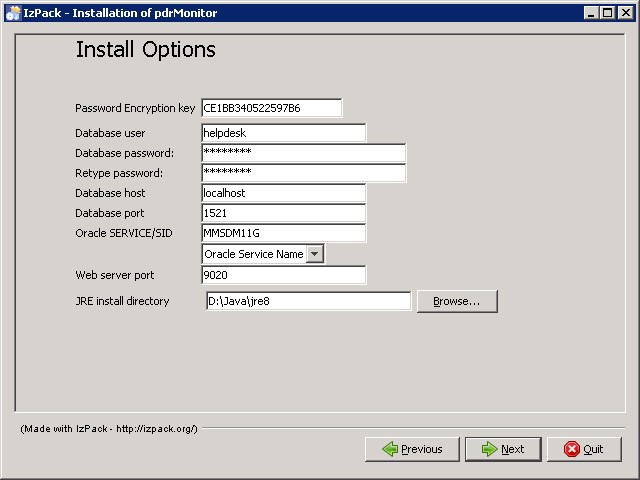
- In the installation configuration interface, enter the following details and click Next.
Parameter
Description
Password encryption key
A random value is generated automatically and used to protect the database password. Generally, you can accept the default value.
Database user
The username for logging into the database. Must be an existing account.
Database password
The password of the Database user
Retype password
Database host
If required, you can install the pdrMonitor tables into the same database and schema as your Data Model.
Database port
The port to connect to the database service.
Oracle
SERVICE/SID
The database name to connect to.
For Oracle this is a Service Name/SID.
For SQL server it is the database name in the SQL instance.
Web server port
The port to expose the browser interface to access the pdrMonitor. This port cannot be used by any other application.
JRE install directory
The Java Runtime Environment to use (advanced option)
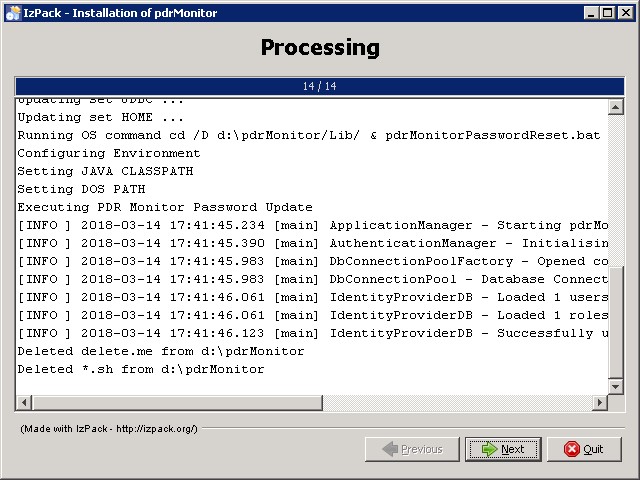
- The processing form displays. When complete, review the installation log and check for warnings or errors.
- If an error occurs, click Previous and correct the installation options. Otherwise click Next.
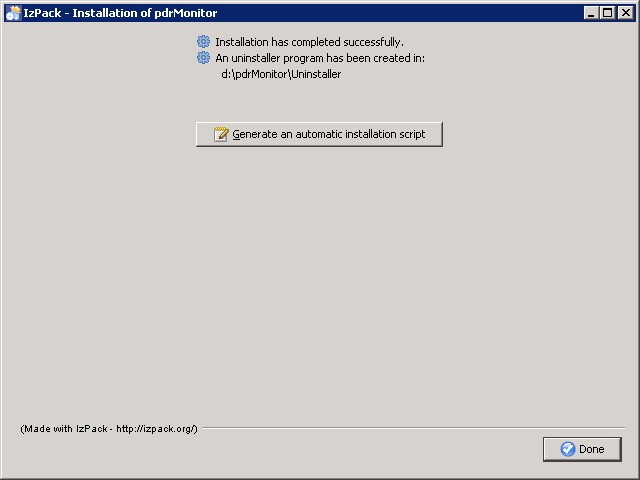
- Once the installation is complete, the finish form displays. Click Done to close the installer.
- The Generate an automatic installation script button is recommended for advanced users running multiple installations. It is used to generate a configuration file for silent installs.
Test
Once your installation is complete, you can test it is working correctly using the following steps:
- Start the application using the method most suitable for your installation and environment:
- For a Windows service installation, start the service from the windows service panel.
- For a Windows console installation, start the application by double clicking the pdrLoader.bat in the Lib folder.
- For a Unix installation, start the application by running the pdrLoader.sh shell script in the Lib folder.
- Check the contents of the pdrLoader log file located in the Log folder and ensure that there are no messages with an ERROR status. If there are, check all parameters, your environment, and repeat the installation if necessary.
- Using your web browser, navigate to the following URL: http://<hostname>:<web_server_port>/html/index.html Where: <hostname> is the server where your pdrMonitor is installed.
- <web_server_port> is the port number you selected in the GUI installer.
- If you entered the correct details, a login similar to below displays.

- Enter the following default credentials and click Login:
- Username: admin
- Password: admin
For help configuring the pdrMonitor with your Data Interchange environment, see Guide to pdrMonitor.