Installation
Environment prerequisites
The Data Model Manager requires:
- A Java Runtime Environment (JRE) installation that matches the certified version for this application.
- Database credentials and access to the local participant database from the environment where Data Model Manager runs.
- No native database client. Data Model Manager uses JDBC to connect to the target database.
Installing a Data Model Release
The Data Model Manager needs a Data Model CREATE or UPGRADE package to apply.
To complete a FULL or UPGRADE Data Model installation using Data Model Manager:
-
Validate the JRE installation is Open JDK 21 by running the following in a command prompt:
java -version
The response should be similar to:
openjdk version "21" 2023-09-19
OpenJDK Runtime Environment (build 21+35-2513)
OpenJDK 64-Bit Server VM (build 21+35-2513, mixed mode, sharing) - If a different Java version is detected, refer to the documentation to install the certified JRE version.
- Double-click the JAR file in a Windows environment, if *.jar files are associated with a Java Runtime Environment (JRE).
- Run the installer from the command line:
- Open a command prompt.
- Navigate to the folder where the installer is stored.
- Run:
- For headless environments, such as Linux, run the installer in a terminal session using the -console flag:
- The following instructions assume the use of the Data Model Manager in a GUI mode.
- On the introduction interface, confirm the Data Model Manager version matches your target database and click Next.
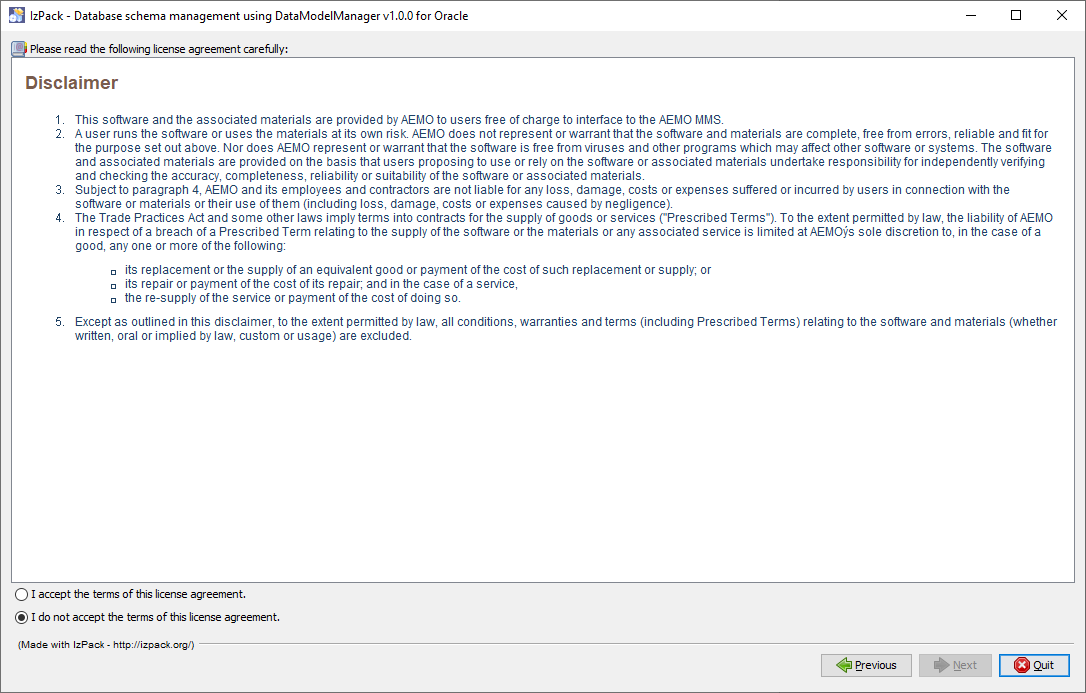
- On the Disclaimer interface, to activate the Next button, select I accept the terms of this licence agreement and click Next.
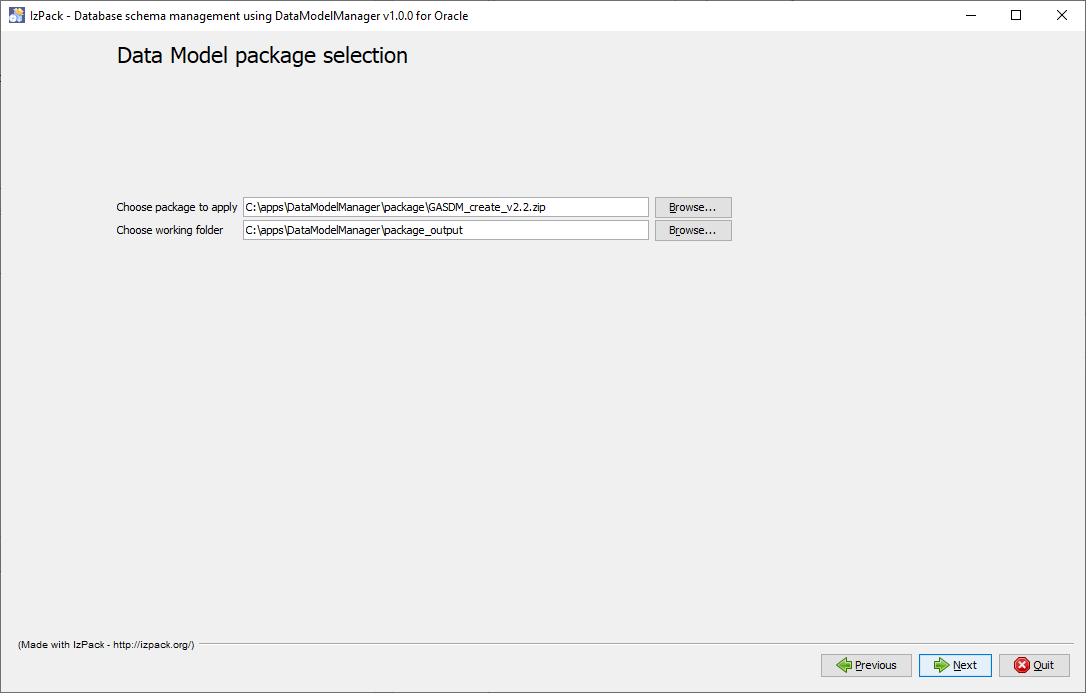
- In the Data Model Package selection interface, next to Choose package to apply, click Browse and select the correct Data Model Package zip file. For help obtaining the package, see Need to Know.
- In the screenshot below, the GASDM_create_v2.2.zip is selected.
- Next to Choose working folder select where to extract the scripts and click Next.
In the screenshot below the output scripts extract to: c:\apps\DataModleManage\package_output folder.
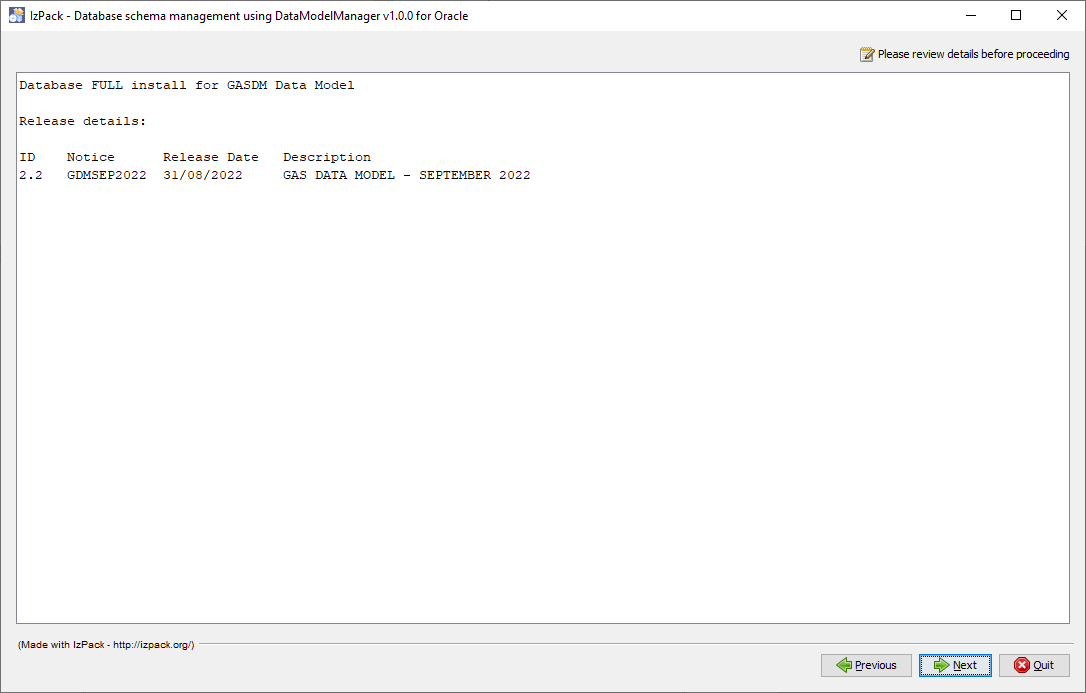
- In the release details interface, ensure you selected the correct install package. Review the release details and any special release notes associated with the change. If the selected package contains multiple changes, they display on this interface. Click Next.
- In the install packs interface, select the installation options and click Next:
For Oracle installations, see Understand oracle installations.
- Create Tablespaces and Create Schema are only visible for an Oracle target.
- Create Tables or Upgrade Tables options are available for all database platforms.
- Apply to Database: Applies the release to your Data Model. Leave this option unchecked if you want to generate scripts only and apply them manually.

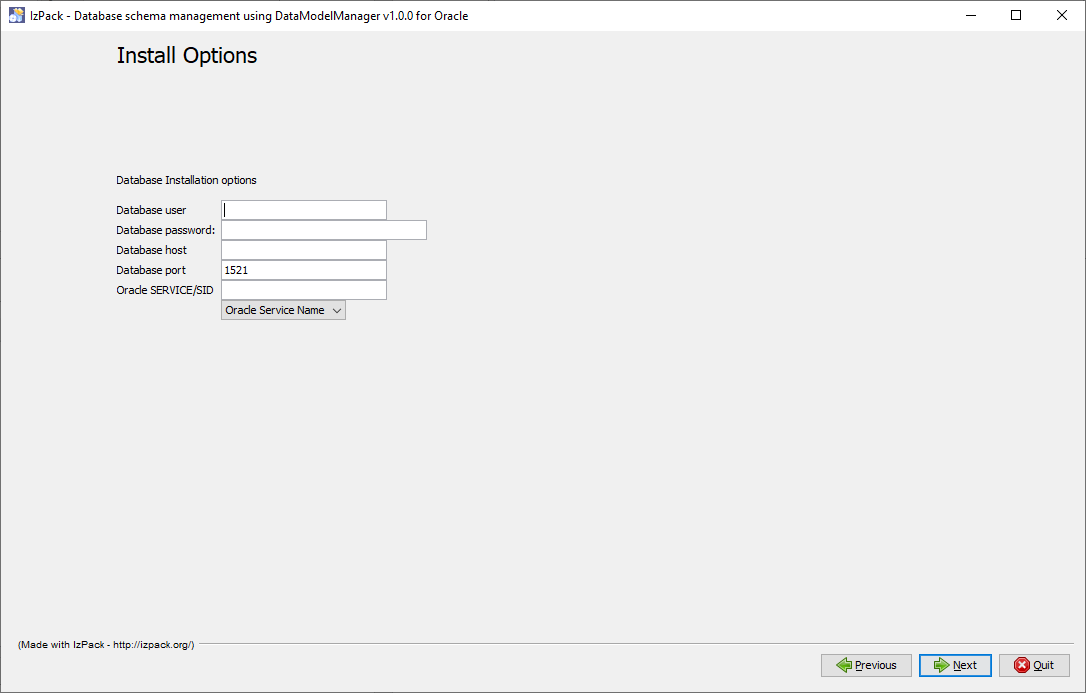
- In the Install Options interface, enter the parameters to connect to your Data Model database. The Database port number assumes a standard installation of the database platform. If you use non-standard ports consult with your database administrator and adjust this parameter as required. Click Next.
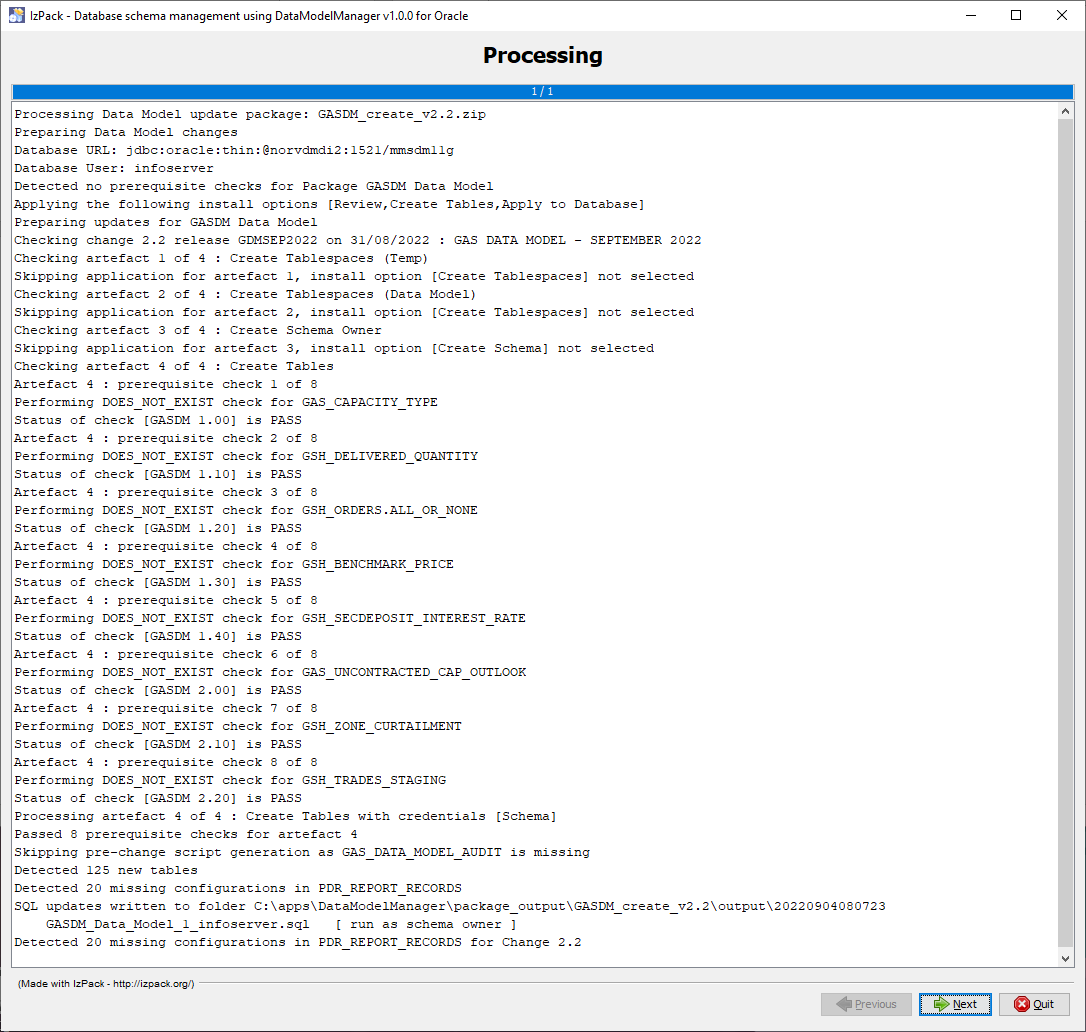
- In the prerequisites and script generation interface, the Data Model Manager does the prerequisite checks. If your Data Model installation passes all prerequisites, the Data Model Manager assembles and applies the required script artefacts. If the prerequisite checks do not pass, correct the issue. For example, apply an earlier missed patch release. Then you can attempt applying the desired patch.
- In the example below, outputs were generated to the folder: C:\apps\DataModelManager\package_output\GASDM_create_v2.2\output\20220904080723 with the following artefacts generated:

- The dataModelManager.log file contains more detailed information about the script generation process.
- The generated scripts have the following filename mask:
{Data Model Type}_{Script Number)_{Database user}.sql.
- If you want to manually apply the changes to your database, you can exit the Data Model Manager now and use the generated artefacts.
- Click Next.
-
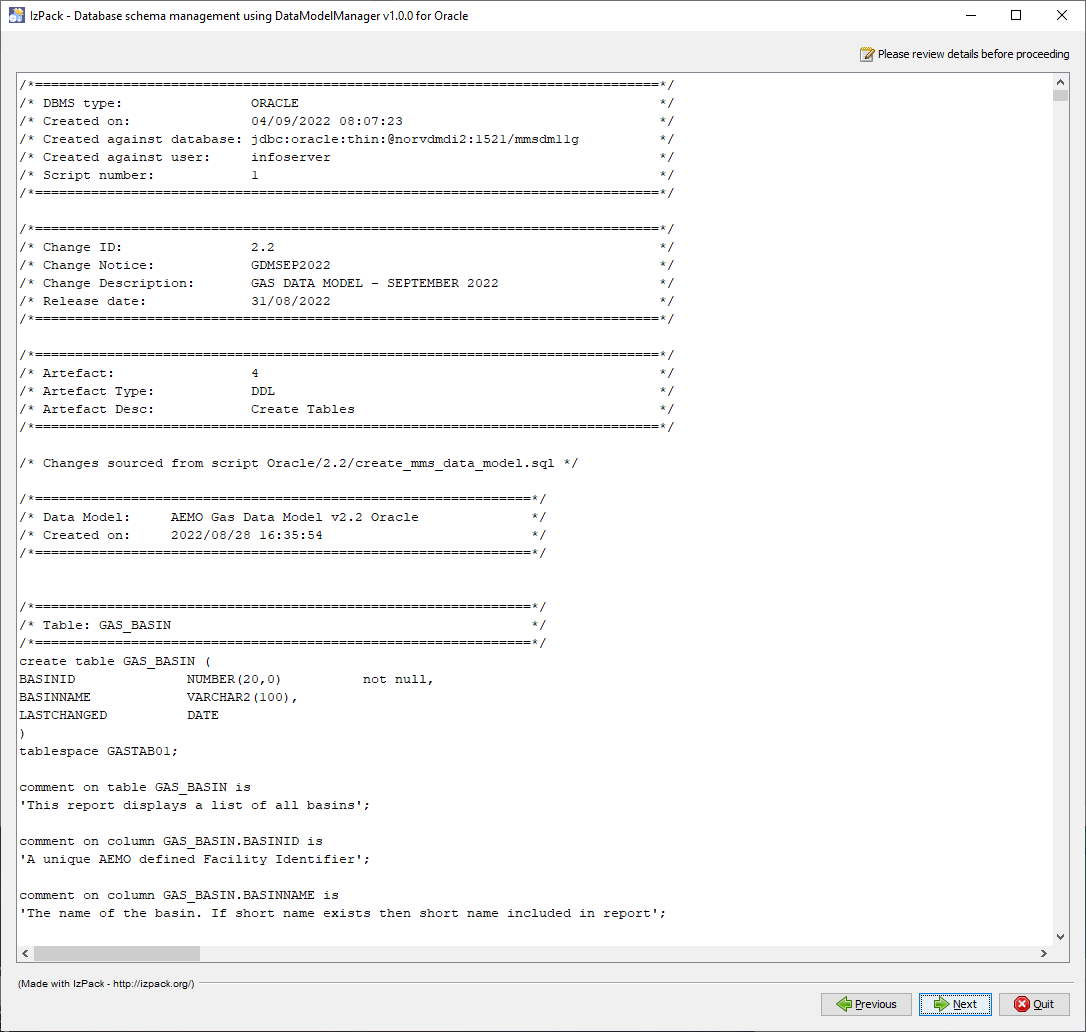
In the script review interface, assuming you selected the Apply to database in the Install packs interface, review the assembled script content before it is applied to your database. Click Next.
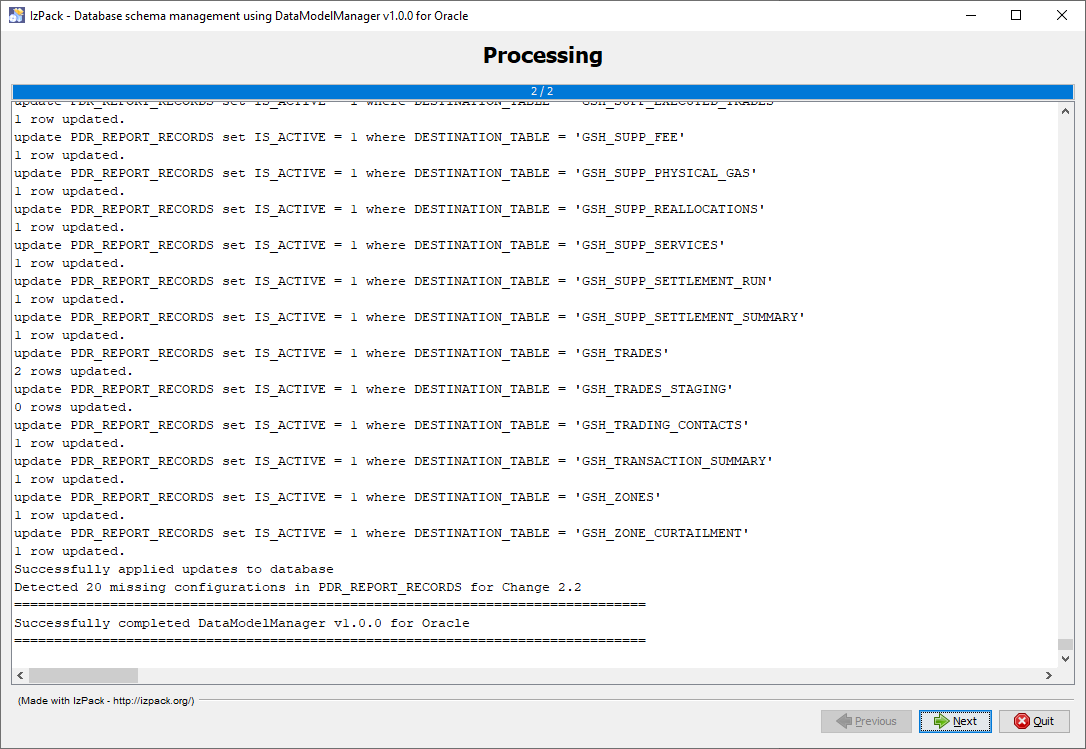
- In the script apply interface, as the script artefacts are applied, the interface displays confirmation of database changes as they are processed. This information is appended to the dataModelManager.log file, ensuring there is a full audit trail of the applied changes. If there are any post installation actions (for example, applying a BASELINE file to populate a newly created table), they display at the end of the installation log. Click Next.
-
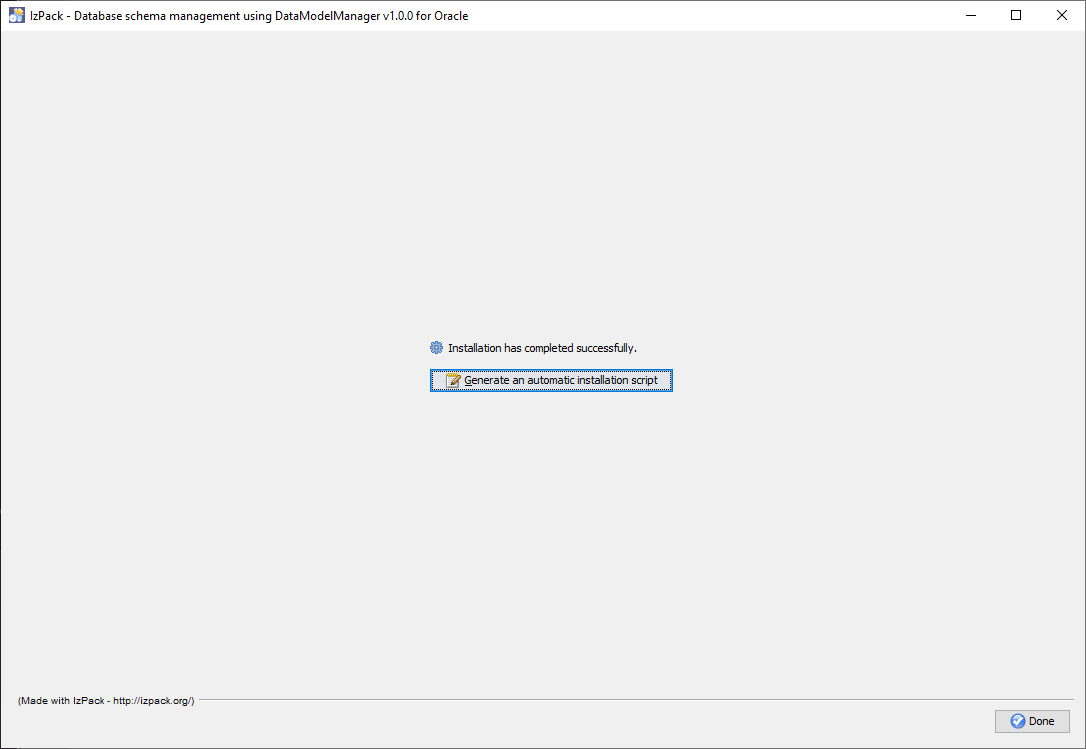
In the finish interface, click Done to close the Data Model Manager GUI, completing the installation.
Start the GUI installer using one of the following methods:
java -jar <insert installer name here>.jar
java -jar <insert installer name here>.jar -console
Provides the same capabilities as the GUI installer but runs entirely in text mode.
For command-line use, replace <insert installer name here> with the Data Model Manager release matching your target database platform. For example:
java -jar "Participant Data Replication Data Model Manager GUI for Oracle v1.0.0.jar"